
Monday, December 10, 2012
Create a Lightning and Nebula Photo Manipulation
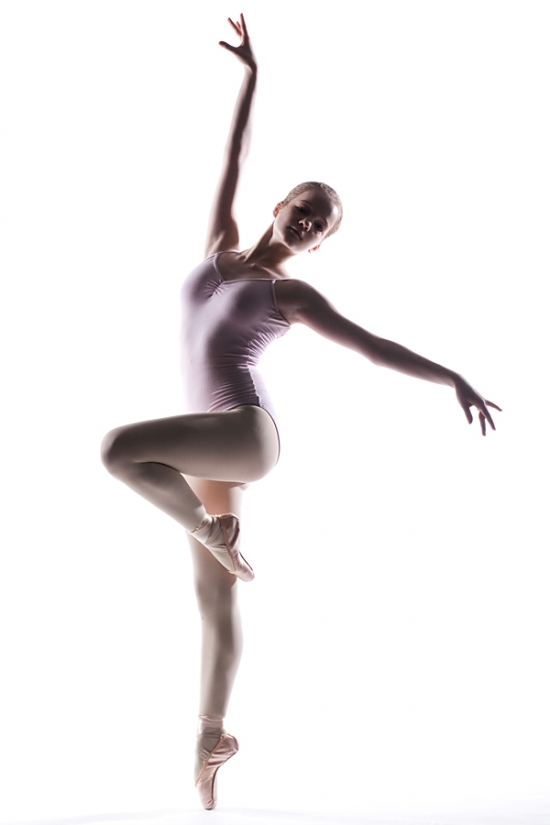
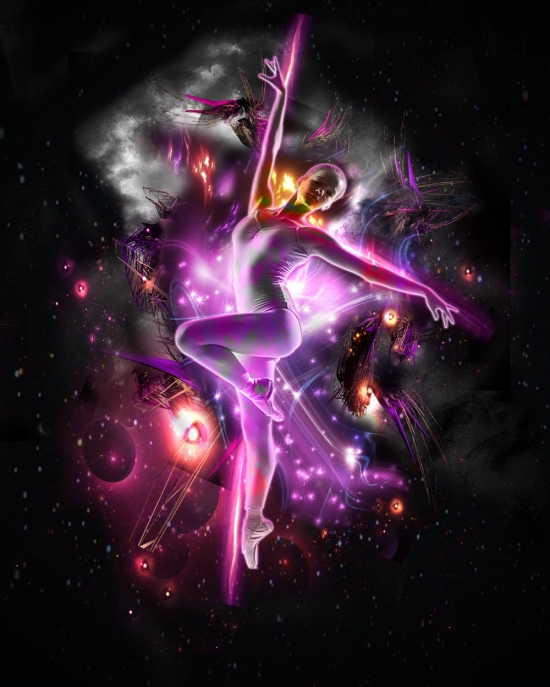
Today I want to share a few tricks on how to merge photos. For this composition I used a stock photo of a ballerina. Ballet is the most fascinating dance! So let's add it some expression with the help of lightning and nebulae of outer space.
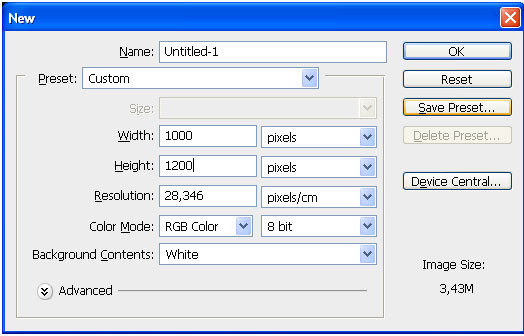
Select width and height you need and press OK.
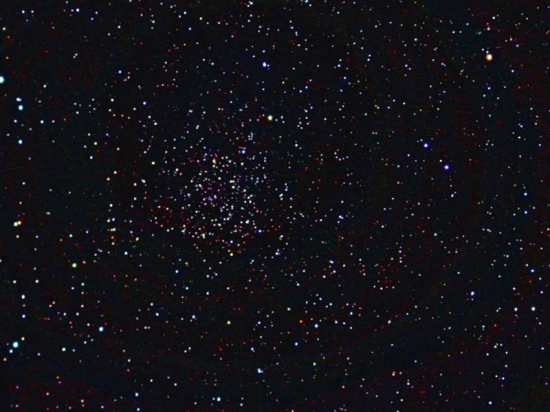
Open your background in the new document. Copy and drag it into your work.
Here is the result:
We need to make the image in black and white. Press Ctrl+Shift+U.
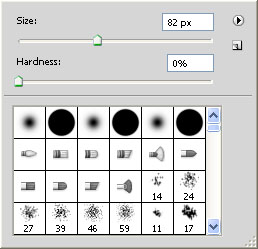
Use large and soft bush.
Our result:
Cut the girl using Magnetic Lasso Tool (L) or any other way you like.
The result:

The result:
Here's my result:

Here is my result:
Add some lightnings to your composition.
Step 1
Let's begin our tutorial with creating a new document. Go File - New or press Ctrl+N.Select width and height you need and press OK.
Step 2
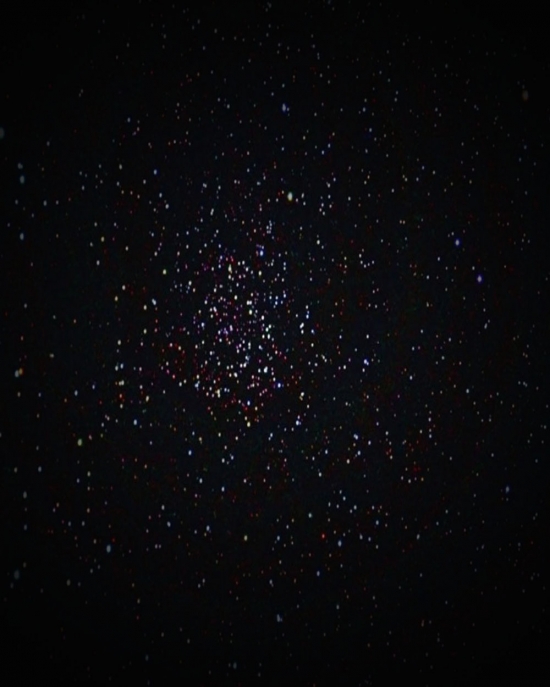
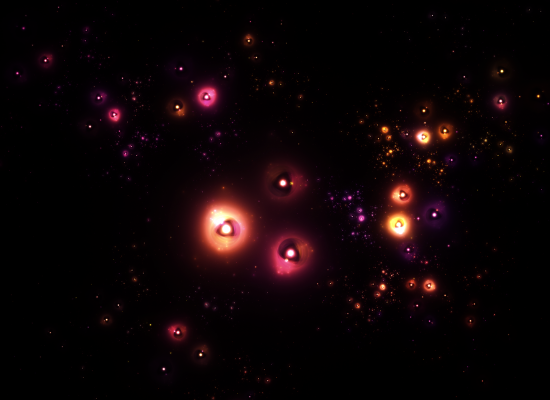
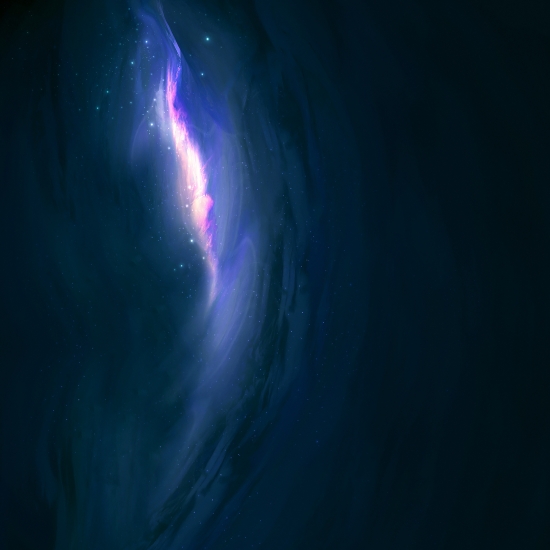
Now we need to create a background for our photomanipulation. I used a photo of a night sky. You may use any stock photo you like.Open your background in the new document. Copy and drag it into your work.
Step 3
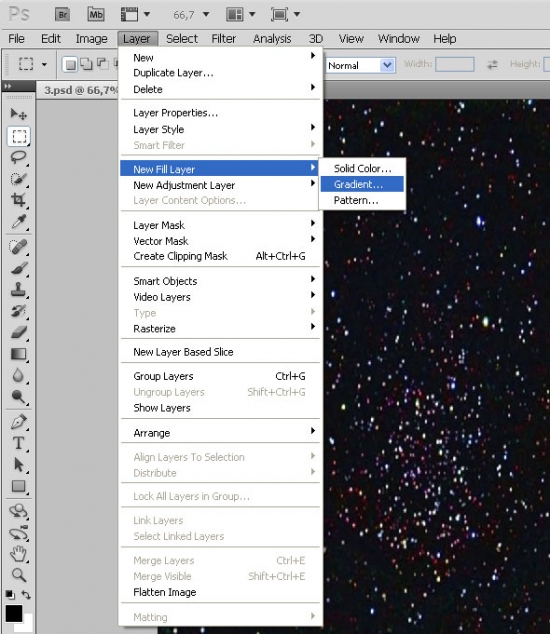
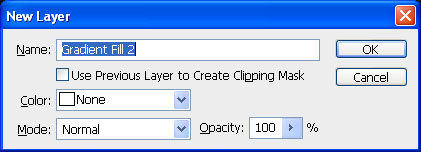
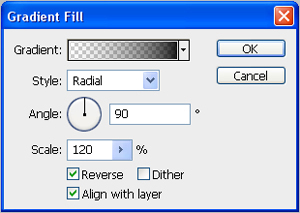
Add some gradient to your background. Go Layer - New Fill Layer - Gradient.Here is the result:
Step 4
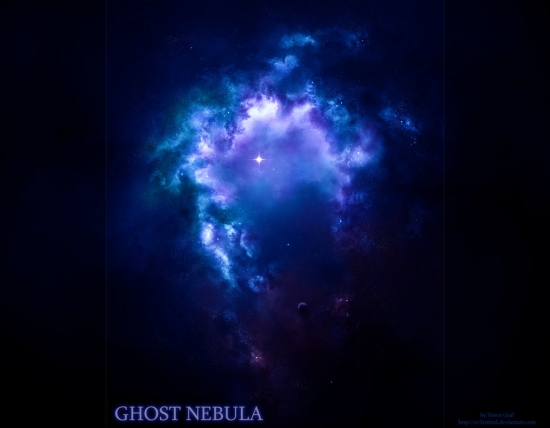
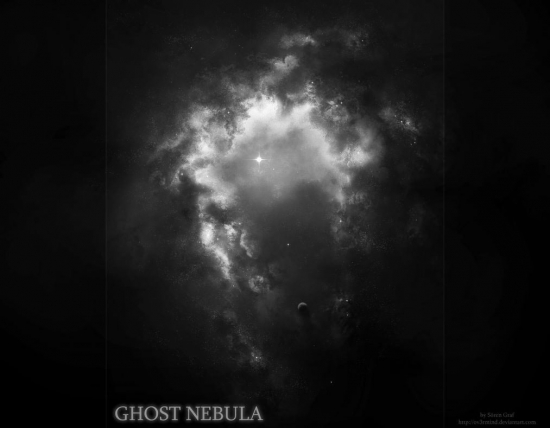
Open a new stock image. I have chosen this one.We need to make the image in black and white. Press Ctrl+Shift+U.
Step5
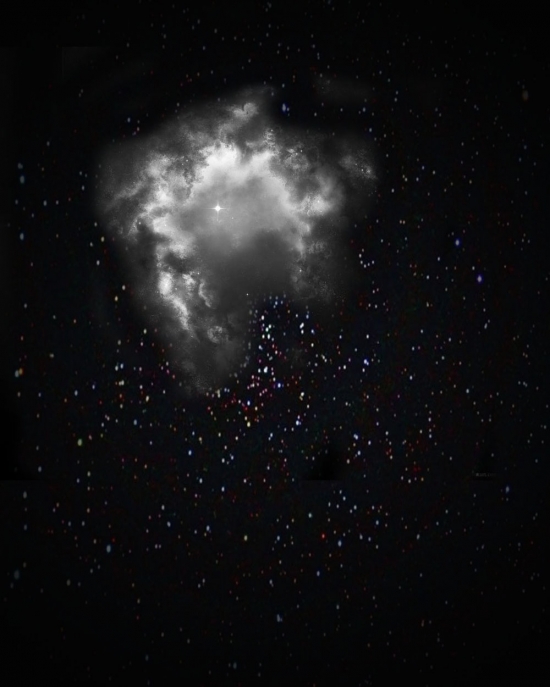
Drag the Ghost Nebula into your work. Use an Eraser Tool to wipe off unnecessary part of stock image.Use large and soft bush.
Our result:
Step 6
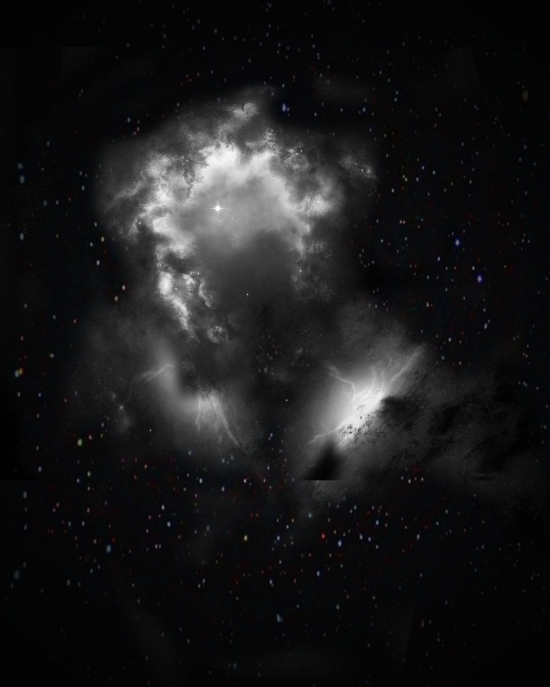
In the same manner add more images.Step 7
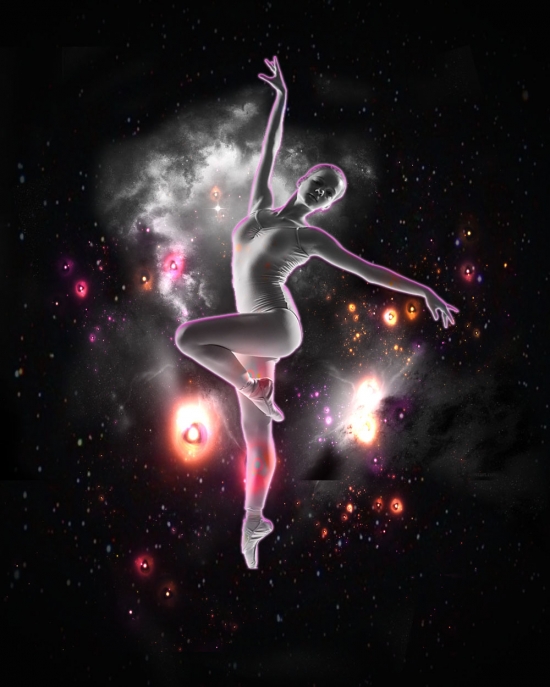
Now it is time to add our ballet dancer.Cut the girl using Magnetic Lasso Tool (L) or any other way you like.
Step 8
Put the girl to the your photomanipulation with Blending Options below. Blending mode : Luminosity.The result:
Step 9
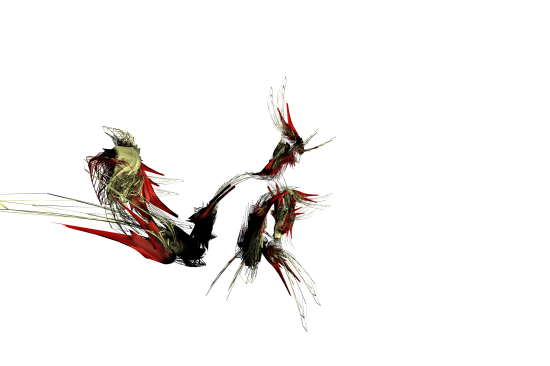
Open the next stock image from deviant.comStep 10
Drag it into your photomanipulation. Blending mode : Linear Dodge (Add)Step 11
Open another stock image. As always drag it into your photomanipulation.The result:
Step 12
Open one more stock image and drag it into the canvas then resize it and put it behind the Girl Stock.Step 13
Adjust the Hue and Saturation of the Nebula Stock to blend it in the composition. Pressing CTRL + U and set the Hue into 100 and Erase the edges (Diameter 100px, Hardness 0%). Change the Blending Mode into Linear Dodge.Step 14
Duplicate this layer several times and place it in the way you like.Here's my result:
Step 15
Open next stock image, drag and resize it, then place in your composition under the "Girl" layer.Step 16
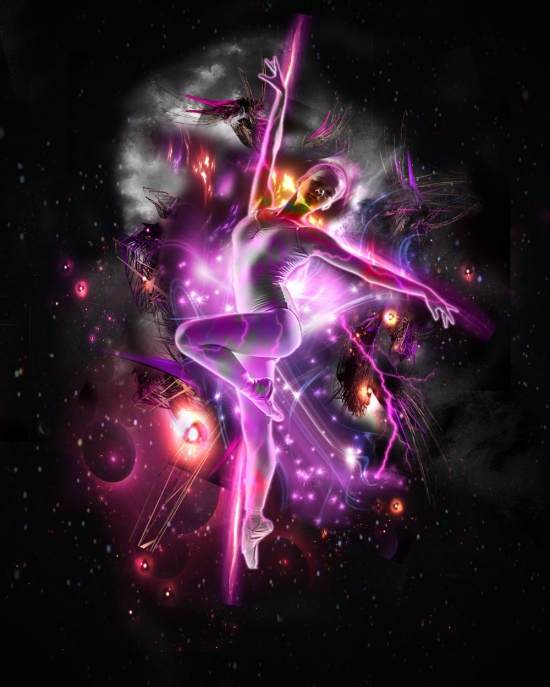
In the same manner add more stock images. You can add as many images as you like. You can change a Blending Mode, Hue and Saturation and Blending options of the stock images.Here is my result:
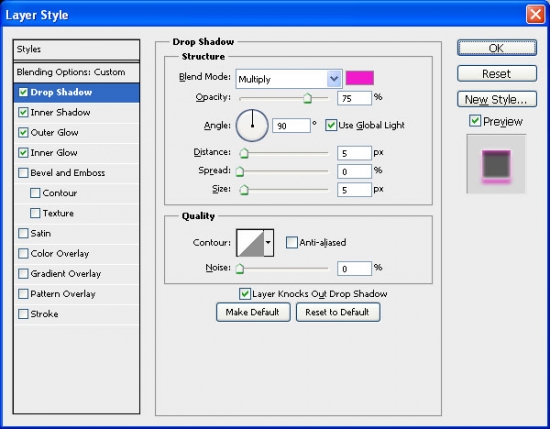
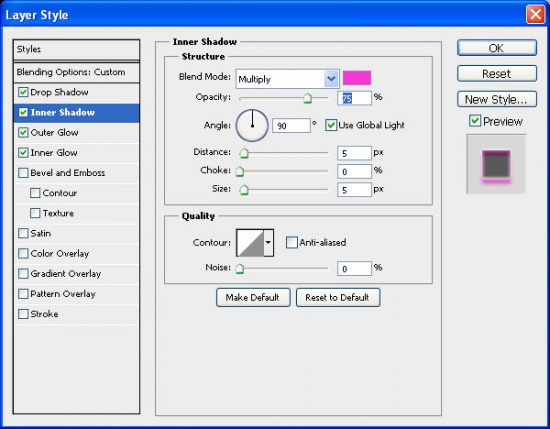
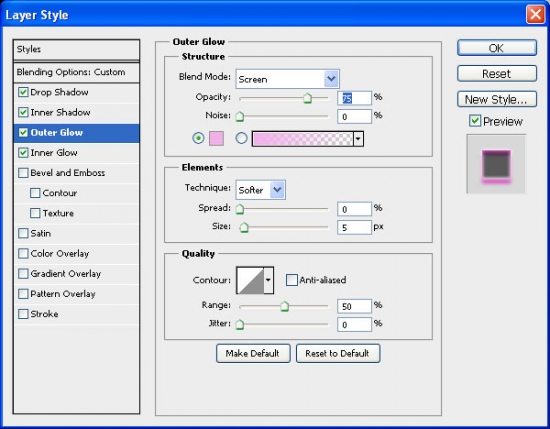
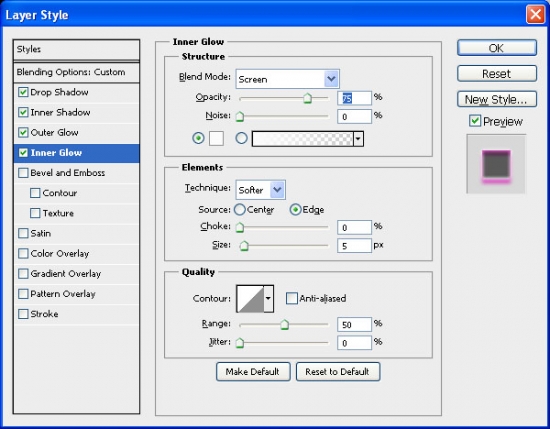
Step 17
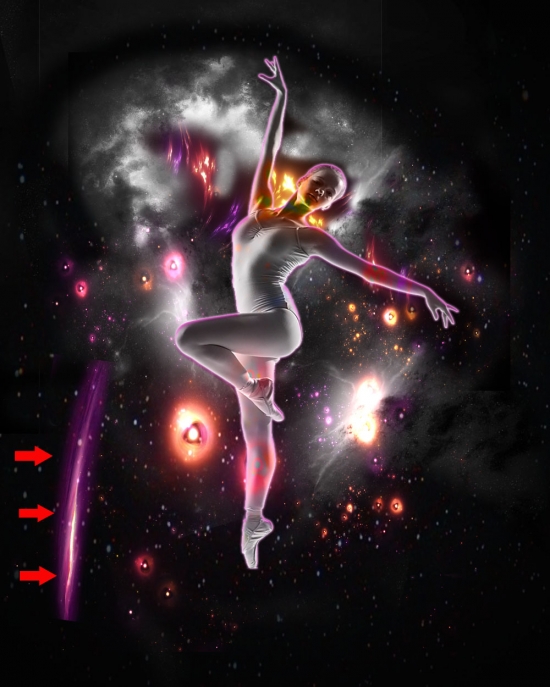
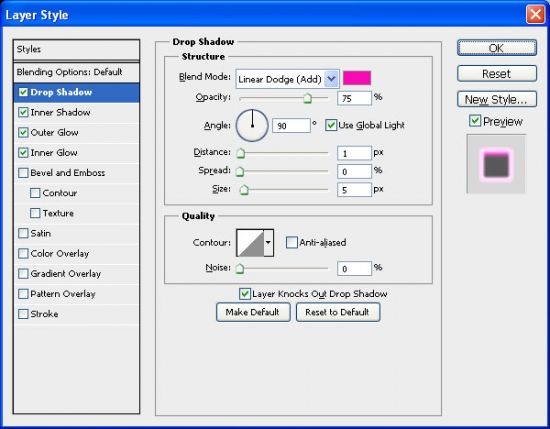
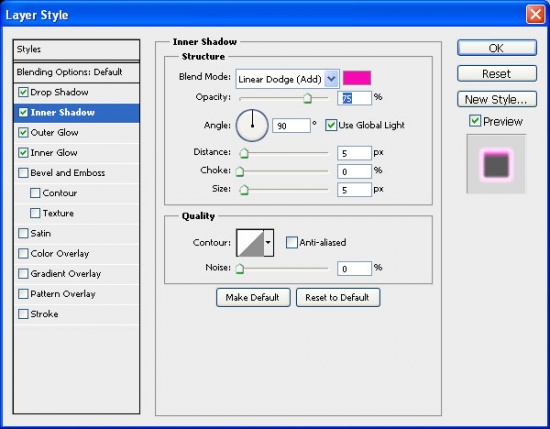
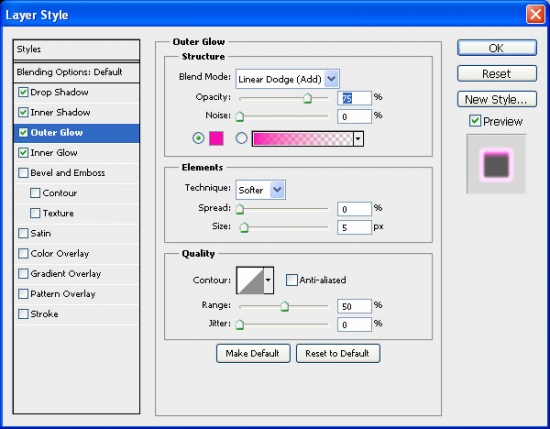
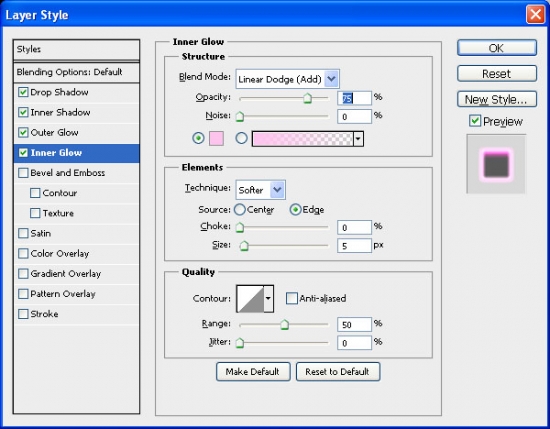
Create a New Layer with Blending Options:Step 18
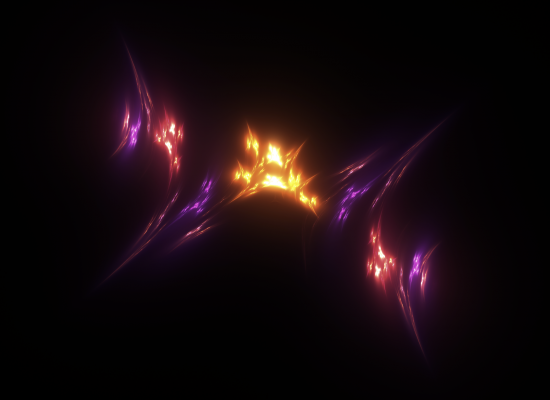
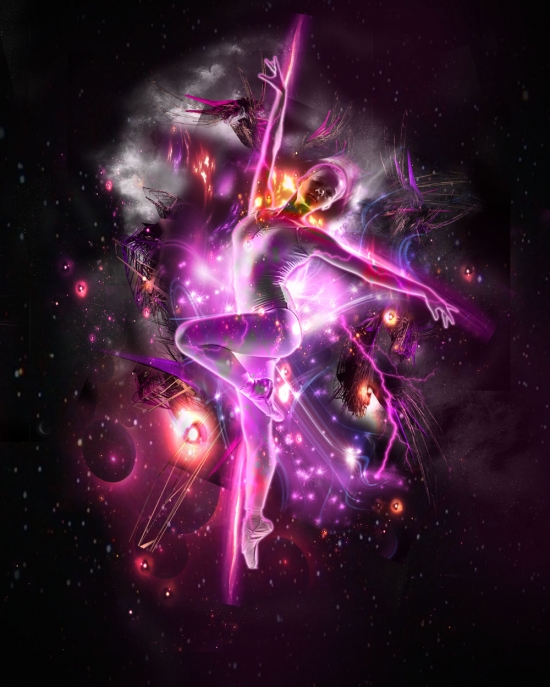
Now we need some Lightning Brushes.Add some lightnings to your composition.
Step 19
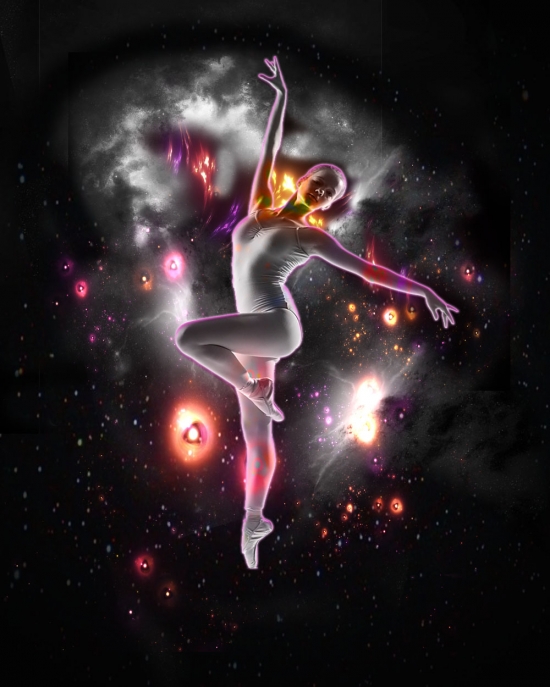
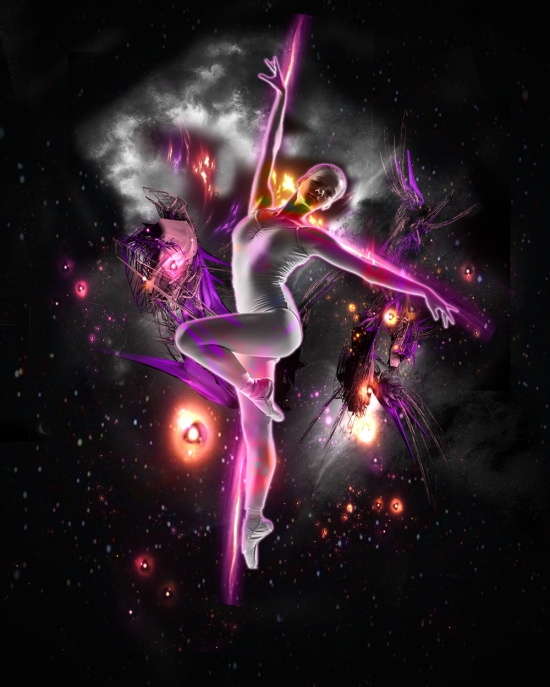
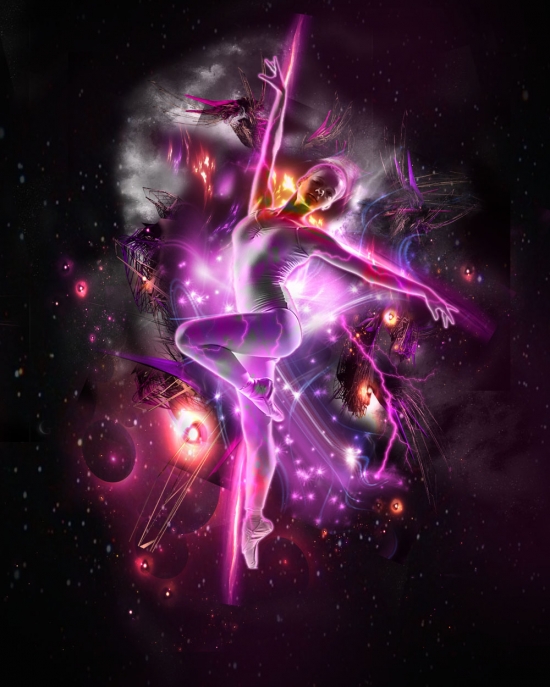
Create a New Layer. Use the soft and large Brush to add some pink glow.Step 20
Choose the stock image that we Use in Step ? 9. Add it to your composition over the "Girl" layer. Blending mode: Linear Dodge (Add)Sumber: http://www.webdesign.org/ Tags: Design
Subscribe to:
Post Comments (Atom)


0 Responses to “Create a Lightning and Nebula Photo Manipulation ”
Post a Comment